How to Change a Dewalt Chop Saw Blade?
 How to Change Dewalt Chop Saw Blade
Certain brand names represent the highest caliber in their product categories. When it comes to miter saws, chop saws, circular saws, reciprocating saws, and many other tools, it’s common knowledge: the Dewalt name stands for the best of the best!
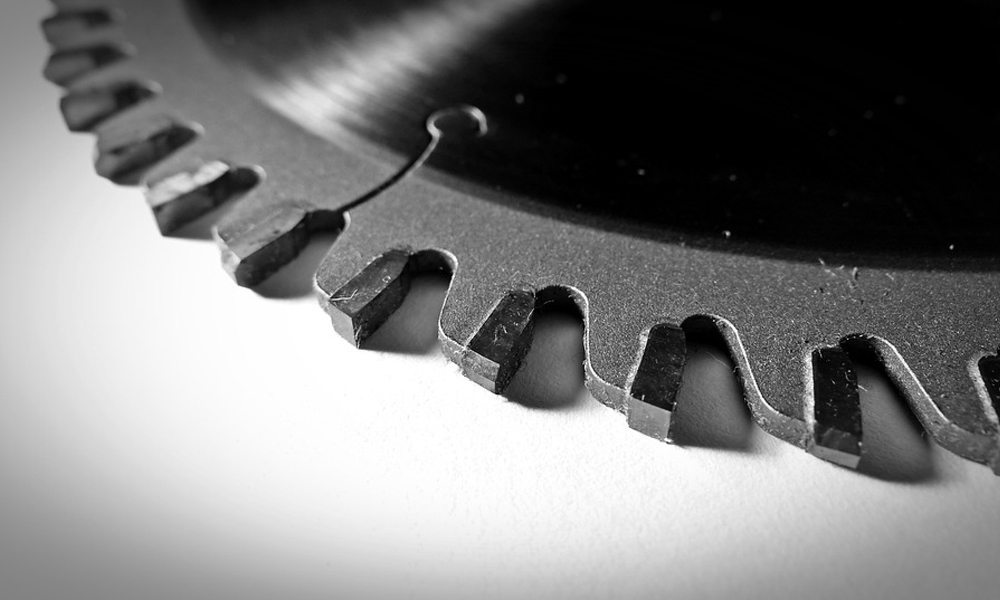
Another fantastic thing about Dewalt saws is that they (save the reciprocating saw) use the same circular 12” blade. This type of blade is incredibly constructed for professional use and follows a unique patent-pending design. (This design applies to reciprocating saw blades, too.)
Blades are interchangeable with different miter, chop, and circular saw types and can be replaced easily using the right tools, tips, and knowledge— no matter what machine you’re running. Read on to learn more about changing a Dewalt chop saw blade and many other types that run on the Dewalt brand blade.
How to Change Blades on a Sliding Miter Saw
Even if you’re new to changing blades or using saw equipment in general, you don’t need complicated tools— or be a workshop mastermind— to switch out your Dewalt blades. The steps are simple:
Step 1:
Always make sure you disconnect or unplug the saw for safety reasons. (You’ll need your fingers to change out the blade after all.)
Step 2:
Locate and remove the blade guard. You can do this by unscrewing its bracket screw, which may require a wrench to loosen. At this point, you can start lifting the blade and the blade guard. Hold the guard with one hand and the blade in the other, pulling the blade guard upward so the blade can be removed.
Step 3:
Find the spindle lock button, which is usually on the right side of the saw blade machine. Push it down with your fingers. This will keep the blade in place for safe and easy removal. Rotating the blade slowly can help with the locking process.
Step 4:
Start rotating the blade guard once the blade is locked in place. Next, start loosening the arbor bolt (which may be a Philips head screw) that holds the blade in place. Once this is removed, you can raise the blade out of the machine.
Step 5:
Swap out the old blade with your new blade. Adjust it into the arbor until the blade locking pin rises or pops up. Next, take the arbor bolt or Philips head screw and replace it to hold up the new blade, tightening it with a screwdriver until secure.
Step 6:
Reposition the blade guard, and you’re ready to run your machine anew!
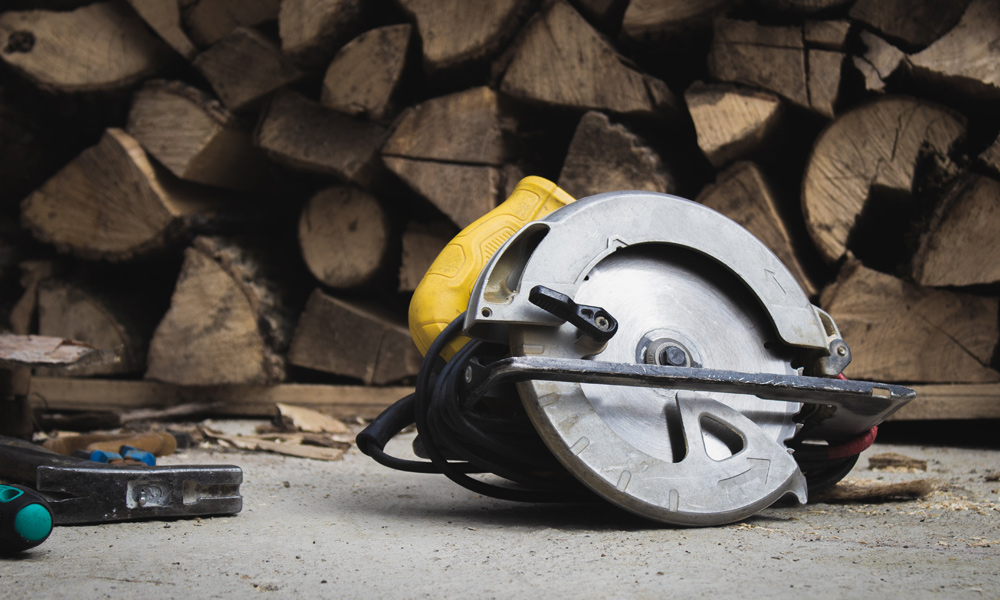
How to Change the Blade on a Circular Saw
 As with a Dewalt miter saw, changing the blade on your circular saw won’t be much of a hassle either.
Step 1.
With circular saws, make sure that the power supply is cut off before changing the blade— again, for safety reasons! This means unplugging or removing any batteries.
Step 2.
Before removal, you may want to set up your circular saw on a sawhorse or anywhere it can be held up to work on it (though even flat on the ground is fine). This will make the process easier and less unwieldy, especially if your saw is larger in size. You’ll need to have a way to use both your hands.
Step 3.
Find the arbor lock button and push it down while rotating the blade until it locks into place. Just like with the miter saw, this will help for safer and easier removal of the blade.
Step 4.
Find the arbor nut and remove it with a wrench. Some recommend pressing the blade against a hard surface as you do this, which can make removing the old Dewalt blade easier.
Step 5.
Remove the blade guard and then the blade afterward carefully. Next, replace the old blade with the new one, making sure that the blade’s teeth face the right direction.
Step 6.
Replace the arbor nut and tighten until snug against the new blade. Avoid overtightening so that removal is easier in the future. Put the blade guard back into place, and you’re ready to run your saw like new!
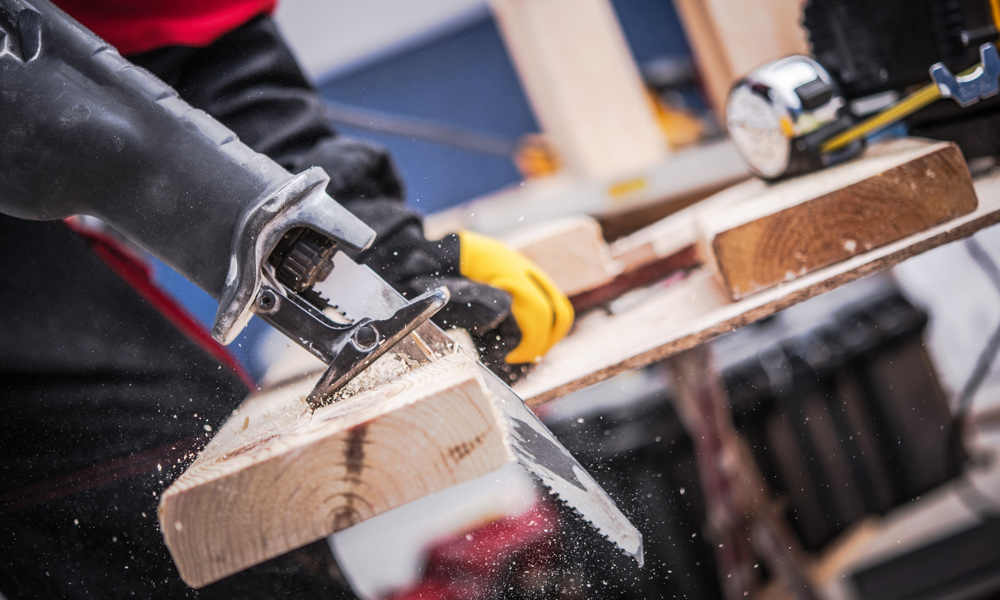
How to Change the Blade on a Reciprocating Saw
 While you’re still dealing with top Dewalt blade quality, changing out the blade in a Dewalt reciprocating saw is a whole different beast. These blades are shaped differently and, as such, are swapped out differently, too.
That said, it’s still a relatively straightforward process! Keep in mind that there are different sizes among Dewalt saws, and you’ll need to make sure you’ve bought the right Dewalt blades for your tool, which you can do by checking the blade and saw model numbers to make sure they match.
Step 1.
It goes without saying— make sure the power is disconnected first. If you have a plug-in reciprocating saw, unplug it. If it’s battery-powered, remove the batteries.
Step 2.
Lay your reciprocating saw on its side. To loosen the blade for removal, use the hex key or Allen wrench inserted into the saw’s screw and twist it counter-clockwise.
Step 3.
Take the old blade and pull it free with the nut loosened or removed. Use pliers if blade removal becomes difficult. At this point, you can then insert the new blade and the hex nut. Make sure to re-tighten when in place. Your reciprocating saw is ready with a fresh new blade!
Whether you’re an expert carpenter, woodworking nerd, or merely a noob to the shop, switching out Dewalt blades on your saws is a cinch. Once you’ve mastered this skill, your saw will keep running as keen as it can be!