How to Tell When a Chainsaw Chain is Worn Out?
Recognizing the Signs of Chainsaw Chain Wear for Better Performance and Safety
We may earn commission from our brand partners when purchasing products through our links. Learn more.
Knowing when your chainsaw chain is worn out is crucial for maintaining the performance, safety, and longevity of your chainsaw. In this comprehensive guide, we’ll cover the signs of a worn-out chainsaw chain, top tips for chain maintenance, and frequently asked questions to help you understand and make informed decisions.
Signs of a Worn-Out Chainsaw Chain
Here are some signs that indicate your chainsaw chain is worn out and may need replacement:
- Difficulty Cutting: A worn-out chain will make it difficult to cut through wood, requiring more force and causing uneven cuts.
- Excessive Vibration: A dull or damaged chain can cause excessive vibration, which not only reduces cutting efficiency but also increases the risk of accidents.
- Smoke and Burning Smell: A worn-out chain will generate more friction, resulting in smoke and a burning smell during operation.
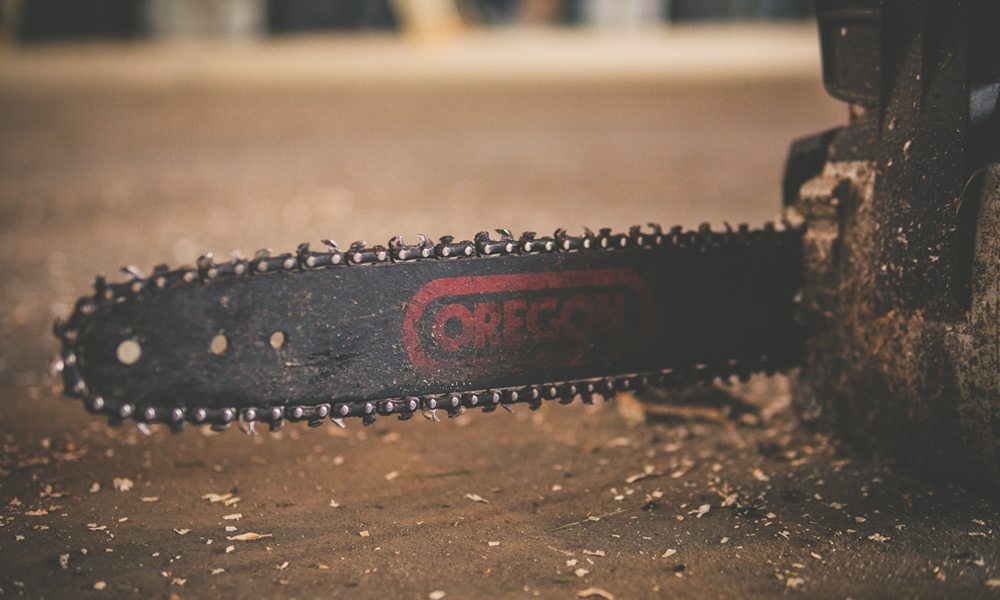
- Tooth Damage: Inspect the chain’s cutting teeth for damage, such as broken or chipped teeth. Damaged teeth can affect cutting performance and pose a safety risk.
- Stretched Chain: Over time, chains can stretch and become loose, causing them to slip off the bar or not engage properly with the sprocket.
- Uneven Wear: Uneven wear on the chain’s teeth, drive links, or guide bar can indicate a worn-out chain or improper maintenance.
If you notice any of these signs, it’s time to replace your chainsaw chain. For a comprehensive guide on how to replace a chainsaw chain, visit our article on how to replace a chainsaw chain.
Top Tips for Chainsaw Chain Maintenance
- Regular Inspection: Inspect your chainsaw chain regularly for signs of wear, damage, or stretching. This will help you identify and address issues before they become severe.
- Proper Sharpening: Regularly sharpen your chainsaw chain to maintain cutting efficiency and reduce wear. Learn how to use a chainsaw sharpener and choose the right size sharpener based on our guide on what size chainsaw sharpener do I need.
- Lubrication: Properly lubricate your chainsaw chain and guide bar to reduce friction and prolong the chain’s life. Most chainsaws have an automatic oiler, but it’s essential to check and refill the oil reservoir regularly.
- Chain Tension: Maintain the correct chain tension to prevent the chain from slipping off the bar or causing excessive wear on the chain and guide bar. Refer to your chainsaw’s manual for instructions on adjusting chain tension.
- Use the Right Chain: Choose the correct chainsaw chain for your specific chainsaw model and intended cutting tasks. Browse our best chainsaw chain guide to find the right chain for your needs.
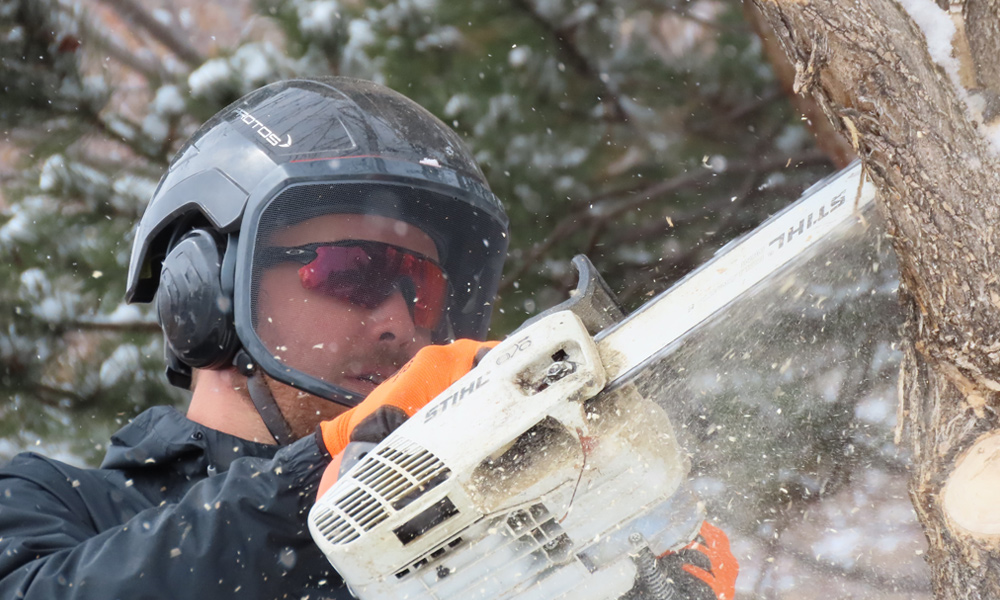
- Safety First: Always follow proper chainsaw safety tips and guidelines when operating and maintaining your chainsaw to minimize the risk of accidents and injury.
Frequently Asked Questions
How often should I replace my chainsaw chain?
A: The frequency of chain replacement depends on the type and frequency of use of your chainsaw. As a general rule, you should replace your chainsaw chain when you notice signs of wear or damage that cannot be resolved through sharpening or maintenance. Regular inspection and proper maintenance can prolong the life of your chainsaw chain.
Can I use the same chainsaw chain for different types of chainsaws?
A: Chainsaw chains are not universally compatible. You must choose a chain with the correct pitch, gauge, and length for your specific chainsaw model. Using the wrong chain can lead to reduced performance, increased wear, and potential safety hazards. Refer to your chainsaw’s manual for information on the correct chain specifications.
Is it necessary to replace the guide bar when replacing the chain?
A: It is not always necessary to replace the guide bar when replacing the chain. However, if you notice signs of excessive wear or damage on the guide bar, such as uneven wear or groove deformation, it is advisable to replace the guide bar as well.
Conclusion
Knowing when to replace a worn-out chainsaw chain is crucial for maintaining your chainsaw’s performance, safety, and longevity. By regularly inspecting your chainsaw chain for signs of wear and damage, properly maintaining and sharpening the chain, and using the correct chain specifications, you can ensure your chainsaw remains efficient and safe for all your cutting needs.
For more information on chainsaws and related accessories, visit our comprehensive guides on best pole saws, best chainsaw mills, best chainsaw sharpeners, and best chainsaw chaps.