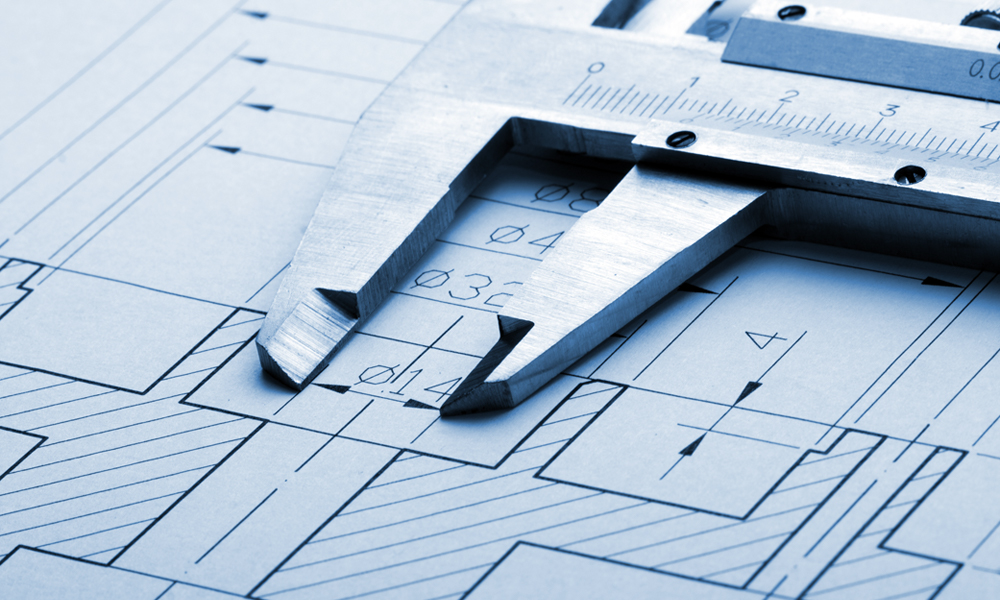
How to Read Calipers
What is a Caliper?
A caliper is a type of vernier scale or measuring tool used by engineers and machinists to measure an object’s size precisely. When you use a pair of calipers, you can see one scale on the top and another on the bottom. The top one measures in inches and fractions thereof, while the bottom one measures millimeters.
What is it Used For?
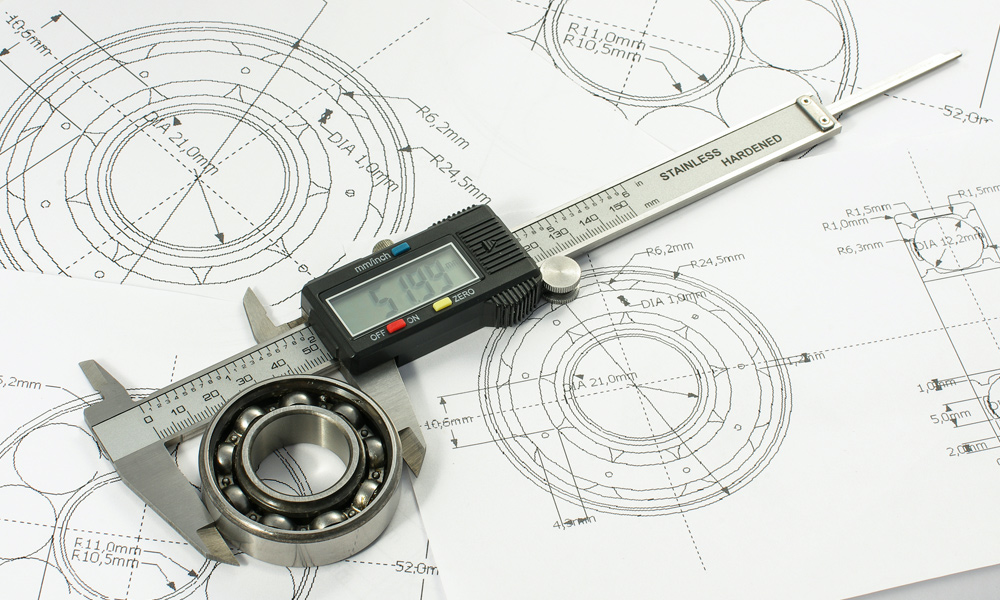
A caliper is used for measuring the size of an object. It can measure the depth, width, or height of an object. The most common use for a caliper is taking measurements in mechanical engineering and machining. Artisans and hobbyists also find them useful when creating handcrafted projects such as furniture or jewelry boxes.
Types of Calipers:
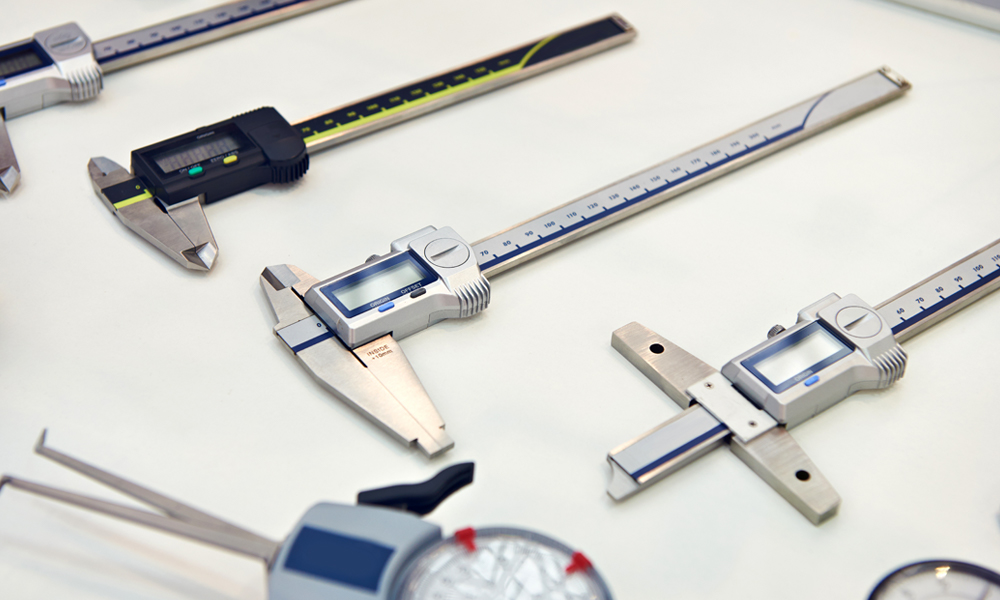
There are several types of calipers. For the most part, they all perform the same function. The major difference is the measurement scale. Here are the different types of calipers:
Digital Calipers
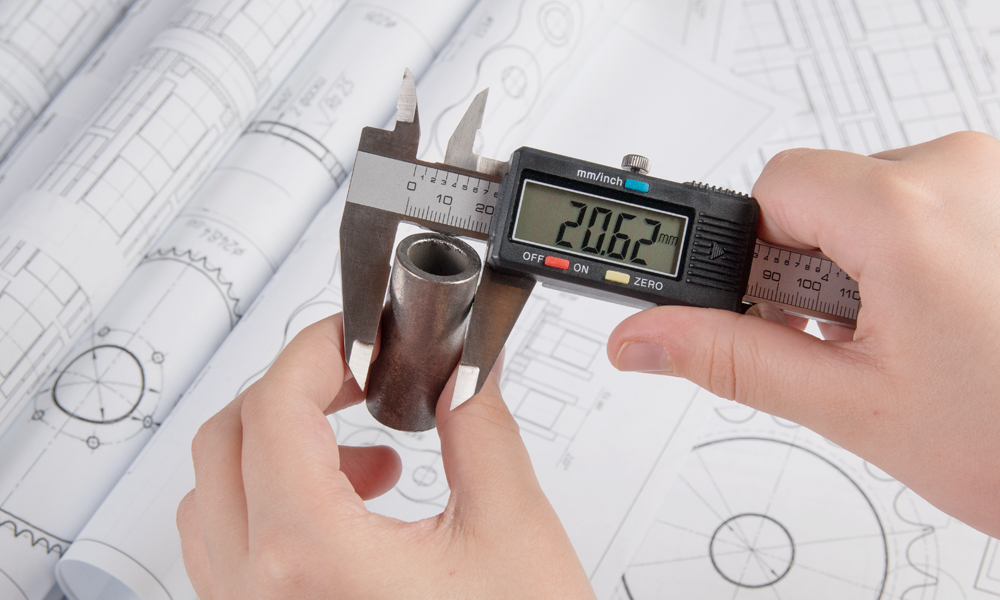
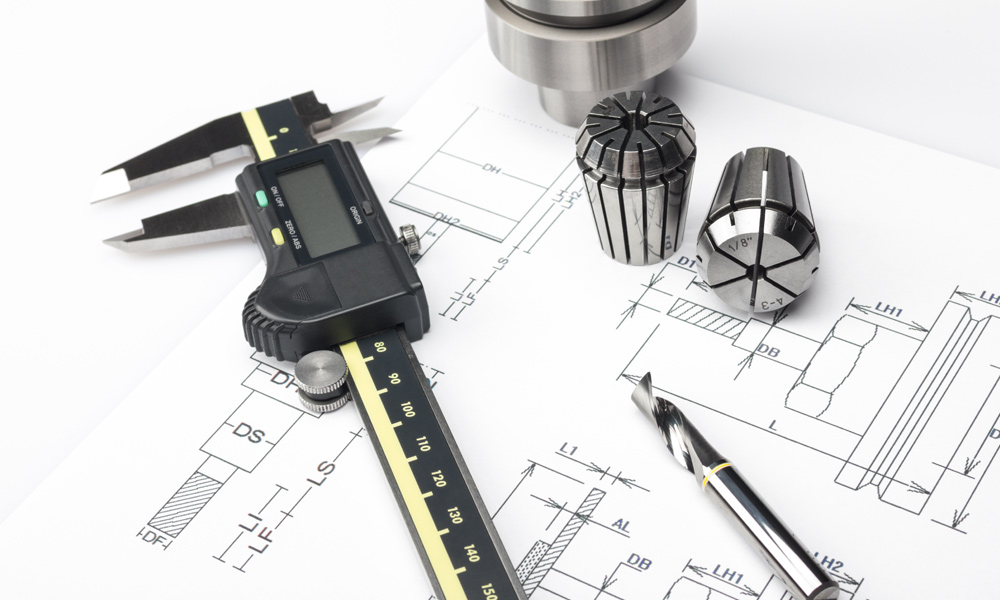
Digital calipers, or digital vernier calipers, are the most common type of caliper that you’ll run into. They measure in both millimeters and inches. A digital display shows you the reading. The measuring tip is on the end opposite the display screen — this works like a regular pair of calipers as well as a depth gauge and a height gauge, and it also includes a wire cutter.
Vernier Calipers
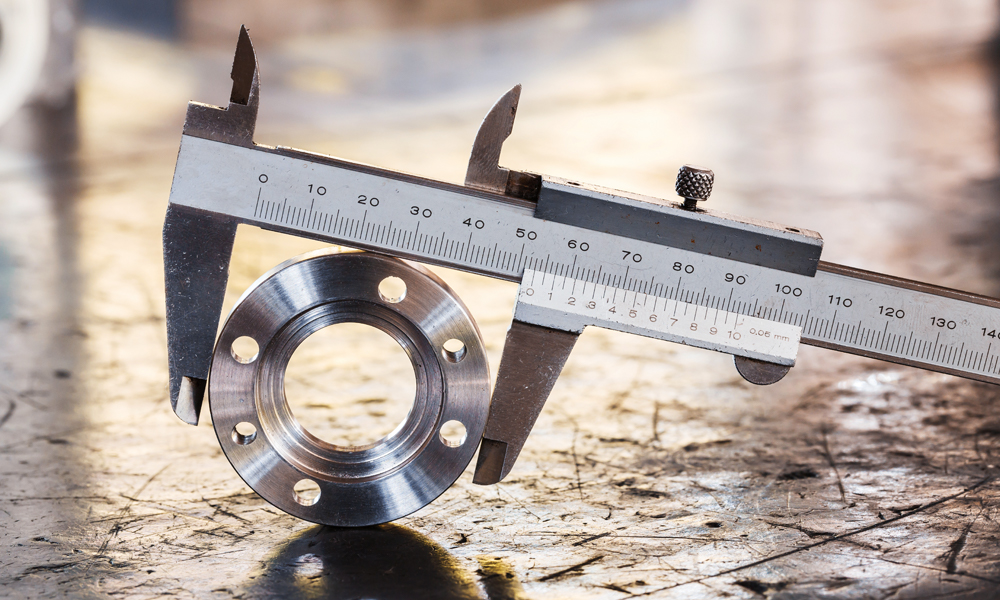
Vernier calipers have two graduated scales: one main scale similar to a ruler and an auxiliary (vernier) scale. To get the exact measurement, you hold the body of the caliper at the zero mark of the main scale and use your thumb to line up a tooth on the auxiliary scale with zero on the main scale.
Spring Joint Calipers
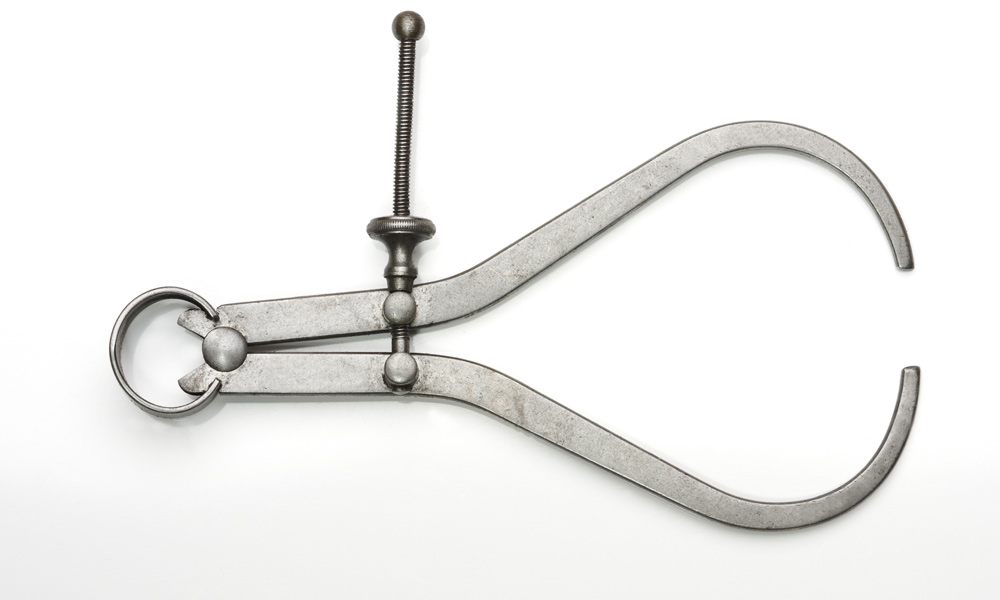
Spring joint calipers are the simplest type of caliper. They have one fixed jaw and one adjustable jaw. The ends meet when the spring is compressed, use the center screw or knurled nut to release it.
Parts of a Caliper:
Vernier, Dial, and Digital calipers
- Inside/Upper Jaws: These are used for measuring the diameter of a hole or slot, for example.
- External / Lower Jaws: Used for measuring the width, length, and diameter of objects.
- Depth Rod: This rod is used to measure the depth of holes and is adjusted by turning the thumbscrew.
- Step gauge: Measures the distance between two points of an object.
- Scale: Runs along the body of the caliper. This gives you the measurement readout.
- Thumbscrew: Adjusts the caliper’s measuring faces (the jaws and depth rod).
- Lock Screw: Keeps the jaws in place as you remove the item, preventing them from moving.
On Digital Calipers:
- On / Zero button: Turns on the caliper and resets the current position to zero.
- Inch / Millimeter button: Set to either inches or millimeters.
- ABS button: Use this button to set the current position to zero temporarily.
- Battery compartment: Holds the battery.
On Dial Calipers:
- Dial: Displays the current measurement being taken.
- Dial Indicator Needle: The indicator needle rotates within the dial when the jaws of the caliper are opened or the depth rod is lengthened.
How to Measure with a Caliper:
Using a caliper is simple. Ensure the jaws are clean and free of dirt, oil, or other materials. Then place the item you wish to measure in between the jaws, ensuring that both ends are touching. The biggest difference between caliper types is how to read the measurements.
Measuring The Inside Dimensions of an Object:
The top set of jaws on the caliper is used to measure the inside diameter of a hole in wood, metal, or pipe.
- Unlock the top lock screw.
- Slide the thumbscrew on the bottom of the upper jaws to the left until it is roughly smaller than the hole (the lower jaws will move too).
- Slide the upper jaws into the hole.
- Adjust the upper jaws, move the right to expand the top jaws until they contact the hole’s walls.
- Adjust the lock screw so that the upper jaws are set.
- Remove the jaws from the hole (optional).
- Take the measurement.
Measuring Outside Dimensions
The outer diameter of a cylinder is measured by the caliper’s lower jaw. It will also tell you the whole length or with of an item.
- Unlock the top lock screw.
- Open the lower jaws by loosening the thumbscrew on the bottom and sliding it to the right.
- Place the object between the lower jaws.
- Slide the thumb to the left until the jaws are clamped tightly around the object.
- Turn the lock screw to set the lower jaws.
- Take the measurement.
Measuring Distance
The upper jaws may also be used to measure the distance between two items.
- Place the jaws between the objects o measure the distance between two objects.
- Adjust the jaws to fit securely between the two items.
- Take the measurement.
Measuring Depth
The depth can be measured by inserting the depth rod into the hole being measured.
- Unlock the top lock screw.
- Adjust the jaws with the thumbscrew to make the rod protrude from the end of the caliper.
- Slide the thumb screw slowly until the end of the beam scale makes a connection with the top of the hole.
- Adjust the rod so that it is flat against both the bottom of the hole and the internal side of the hole.
- Lock screw to tighten the jaws.
- Remove the probe from the object.
- Take the measurement.
How to Read Measurements on a Caliper
There are three main types of calipers: Vernier, Dial, and Digital. Each of these calipers provides the same function, but the technique you use to achieve precise measurements varies. Calipers can provide you measurements in both imperial and metric scales.
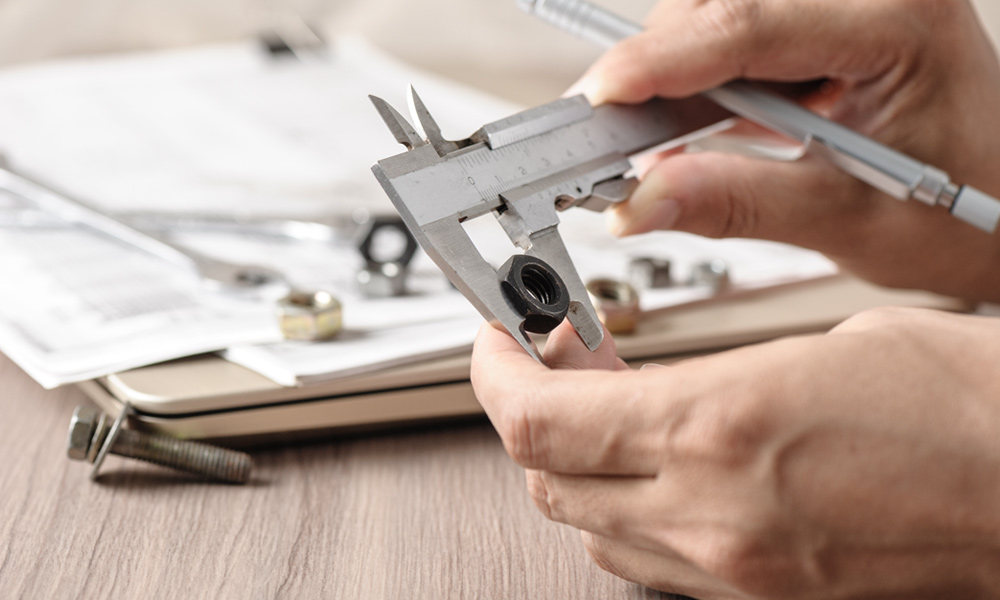
How to Read Vernier Calipers
Vernier Calipers are very accurate, reaching an accuracy of one-thousandth of an inch (up to 2 decimal places). However, It can be difficult to read the measurement with a Vernier caliper. A Vernier caliper consists of two rulers: the main scale and the sliding Vernier scale.
Reading the caliper is a two-step process:
- The main scale adds to the main number and one decimal place. Each increment on the main scale represents 1/10 (.1) of an inch on an inch Vernier caliper. Each division between each tenth of an inch equals 0.25 inches.
- The Vernier scale is found on the sliding jaw and typically has 25 steps. The scale contributes to the second decimal place in the reading and represents a 1/1000 of an inch (0.001), with each .005 inch numbered successively as 0, 5, 10, 15, 20, and 25.
- When using a Vernier caliper to measure an object, the Vernier scale will move to the right.
- Start by reading the large number division from the main scale to the left “zero” of the Vernier scale.
- Locate the largest whole inch mark to the left of this index line.
- Still using the end of the zero mark on the Vernier scale as the index line, find the largest .100-inch mark to the left side of this index line.
- Now, look at the Vernier scale.
- Check that the lines on the Vernier scale align correctly with the main scale’s lines. Only one of these lines will match the scale in this way.
- Using the end of the scale as the index line, note down all of the .025-inch increments to the left of the index line.
- The sum of the two readings is the final reading.
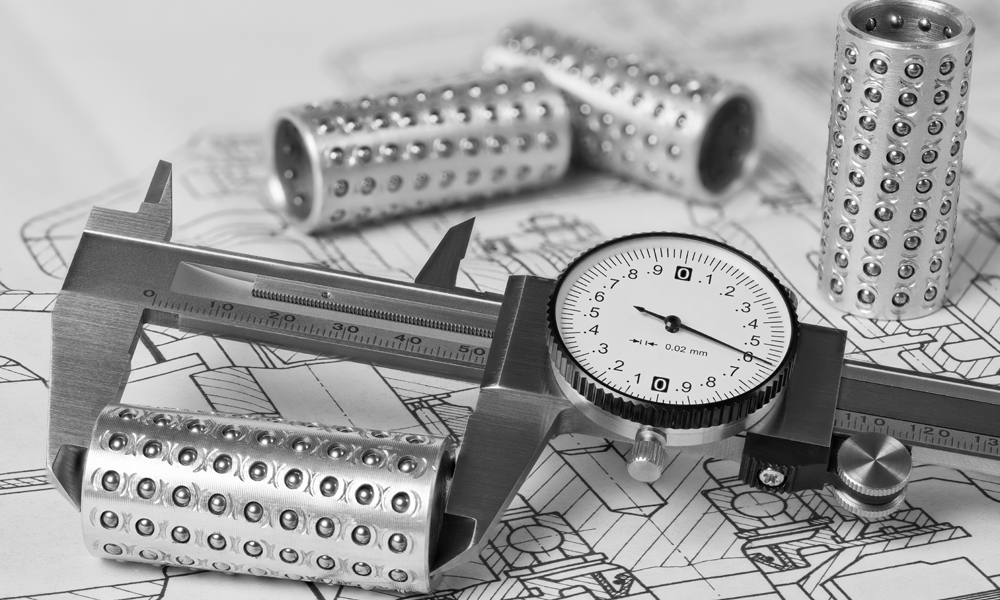
How to Read Dial Calipers
The dial calipers are most often used to assess the thickness of materials and small amounts of movement. They’re especially useful in the automotive and manufacturing industries.
To measure an object with a dial caliper:
- Close the jaws and check that the indicator is set to “0” on the dial face.
- Adjust the jaws to measure the object.
- Take a look at the sliding jaw and the last major scale step it passed.
- Next, look at the dial and note which number the hand is pointing to.
- The sum of the two readings is the final reading.
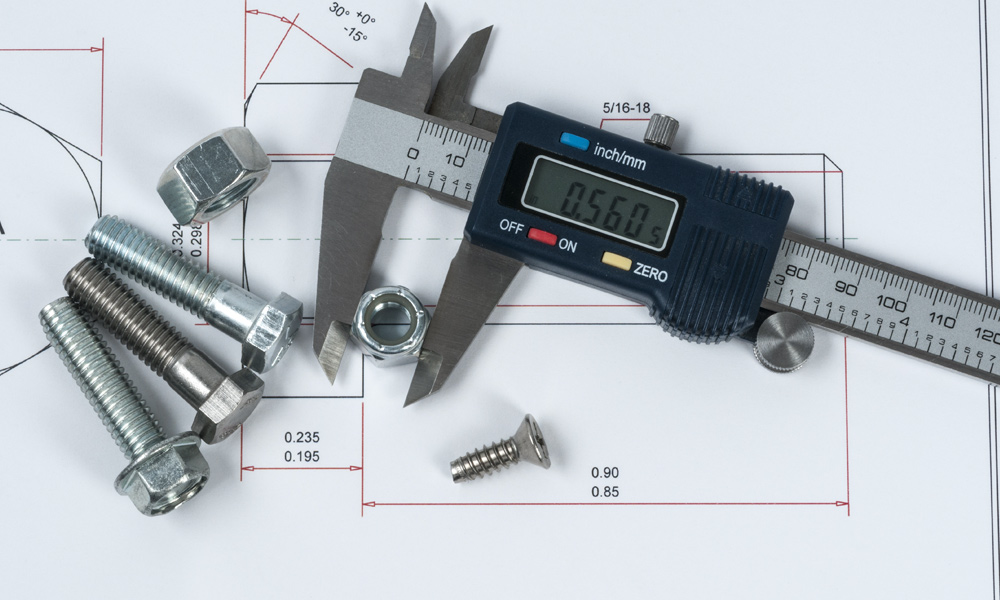
How to Read Digital Calipers
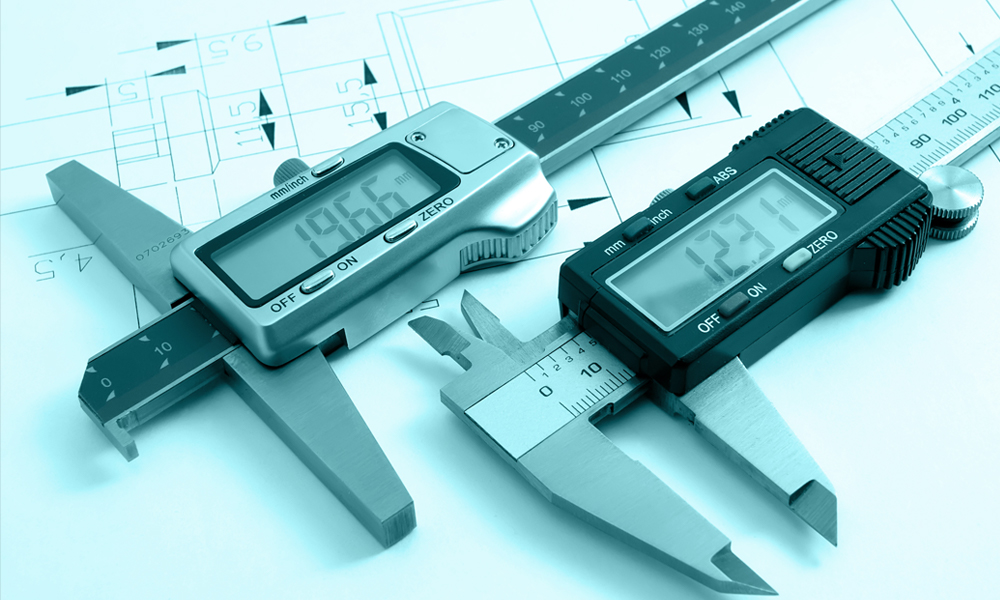
The digital calipers are quite easy to understand. Depending on the read mode, the upper right-hand corner shows either millimeters or inches.
- Close the jaws and check that the indicator is set to “0”.
- Adjust the jaws to measure the object.
- If you’re measuring in inches, the left-hand number before the decimal point is whole inches.
- The numbers to the right of the decimal represent tenths, hundredths, and thousandths.
- A fourth number will appear to the left of the decimal point when the slide is between thousandths, indicating 5 tenths of a thousandth.
